This is a tutorial for how to make a pair of very simple doll shoes. The tutorial assumes an adult crafter with basic crafting experience and does use solvent based glues that requires care and proper ventilation.
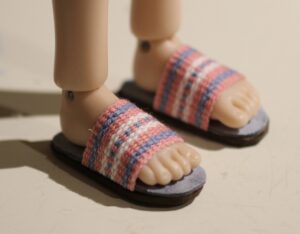
Tutorial: Simple Slippers
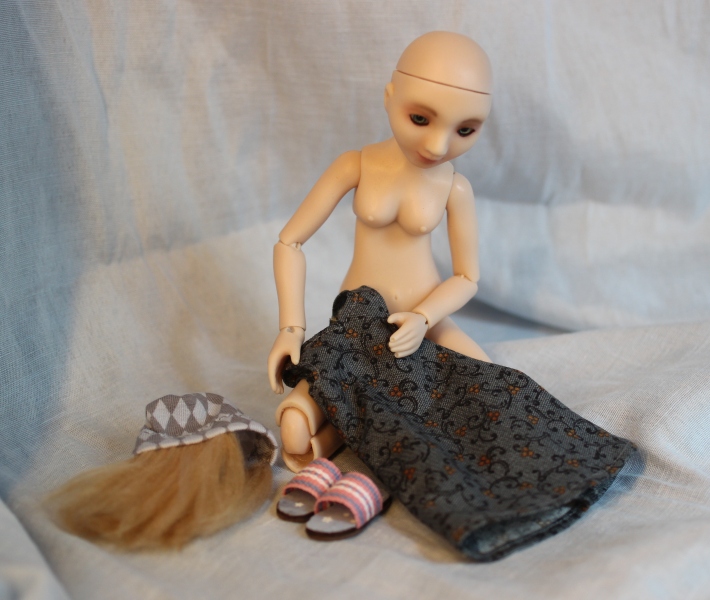
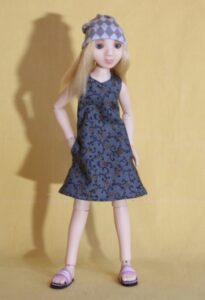
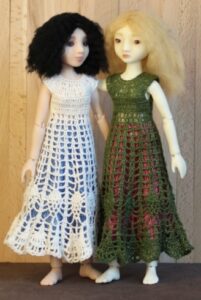
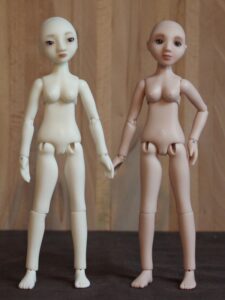
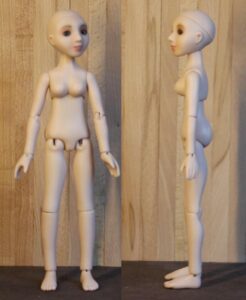
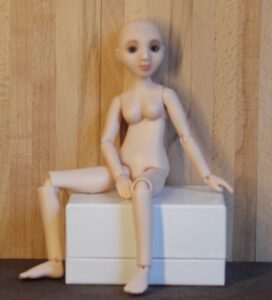
Fit: Any doll with flat feet (the example uses Lillim Milly)
Difficulty: Easy
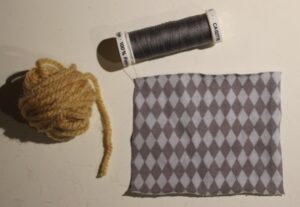
Materials and tools
Printer paper
Stiff cardboard
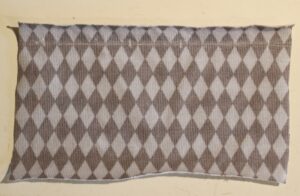
Plain weave cotton fabric (quilters cotton or similar)
Craft foam
Thin ribbon (the ribbon in the example is 14mm wide)
Craft glue for gluing fabric to cardboard.
Contact cement
Craft scissors
Mechanical pencil
Fine permanent marker or ballpoint pen
Optional: acrylic paint and a fine brush (#00 or similar)

Preparations
Test both types of glue on scraps of the intended materials. Specifically, make sure you can glue the fabric to cardboard without the craft glue bleeding through and make sure the contact cement doesn’t have a reaction with the craft foam.
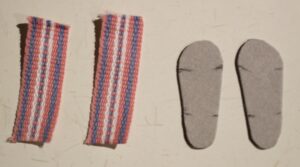
Glue the fabric onto the cardboard using craft glue. Make sure to cover a surface large enough to fit both soles with some margin. This is what will be used for the insoles. Set it aside to dry while making the pattern.
Pattern
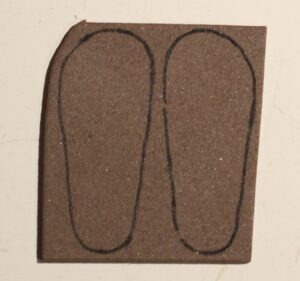
To make the pattern, set the doll’s foot down flat on a piece of printer paper. Trace around the foot. Use a mechanical pencil for this and make sure that as little of the lead as possible is exposed, this minimizes the risk of getting any on the doll.
Using the traced line as a guide, draw a sole shape and refine the line.
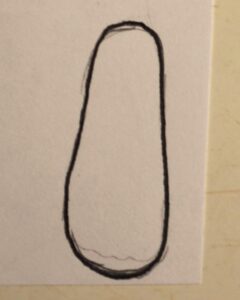
Cut the pattern out and flip it over, double check that it fits both of the dolls feet and that you like the shape you’ve got.
Insoles
Check that the glue is thoroughly dry, then lay the cardboard fabric side down and trace around the pattern onto the cardboard twice, making sure to flip the pattern the second time.
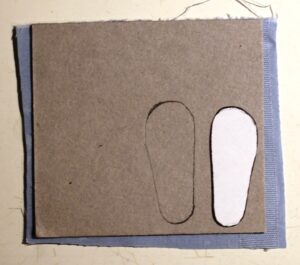
Cut out both soles.
Uppers
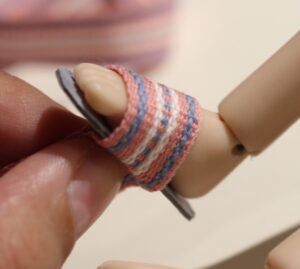
Cut two pieces of the ribbon, both just long enough to reach around the dolls foot.
Hold the insole to the sole of the dolls foot and wrap the ribbon over the foot. Check to see that the ribbon is in the correct position. Hold the ribbon in place while marking where the edges of the ribbons go on the cardboard.
Now it’s time to start assembling the shoe itself. From here on the contact cement will be used. This step requires a little bit of care as it is easy to make a mess. Work in a well ventilated area.
Put some glue between the markings on the outer side of each sole. Do the same on one side of one end of each ribbon piece.
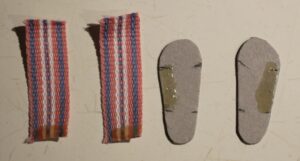
When the glue is dry enough, carefully place the ribbon, using the markings as a guide for both position and angle and press it down.
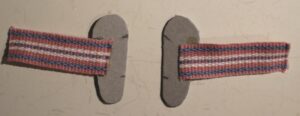
Place the sole back against the dolls foot and wrap the free end of the ribbon into position. Mark the ribbon where it meets the sole. Note if the ribbon overlaps under the sole, if so; trim off the excess now.
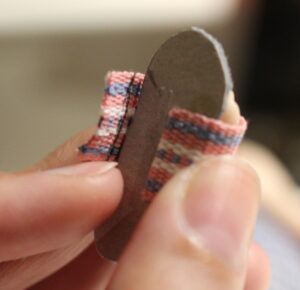
Put glue on the inner side of the sole and the free end of the ribbon, using the markings as guide. Pay attention to where the glue goes; it’s ok if there is some surplus on the cardboard since this will soon be covered by the outsole, but you don’t want too much on the ribbon as that can show on the finished shoe.
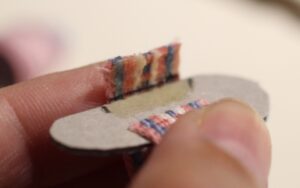
When dry, place the ribbon on the sole using the markings as a guide and press down.
Outer sole
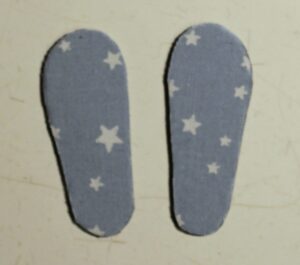
Trace around the pattern onto the craft foam twice, making sure to flip the pattern the second time.
Cut the soles out carefully.
Put a layer of glue on both the outsole and the underside of the shoe. Use a pencil or similar to hold the shoe while the glue dries.
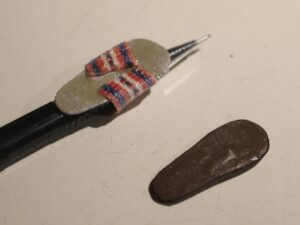
Once dry, place the outer sole on the shoe and press them together firmly.
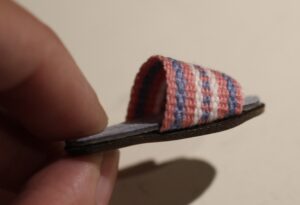
Do the same to the other shoe.
Finishing touches
This step is optional, but it does give a nicer finish to the shoe.
Paint the cut edges on the cardboard with acrylic paint in a color similar to the craft foam, using a thin brush and a steady hand.