
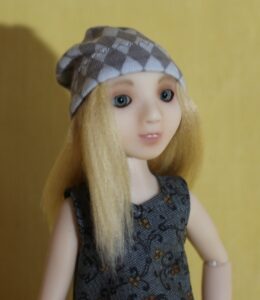
Whether you are waiting for the perfect wig to arrive or are still looking for the perfect color or style to fit your doll, a hat wig is a quick and easy solution to tide you over. All it takes is a scrap of fabric and a little bit of yarn. The example does use a sewing machine, but the seams are short enough that even if you do it all by hand it’s still a fairly quick little project.
Tutorial: Hat wig
Fit: Lillim Tiny
Difficulty: Easy
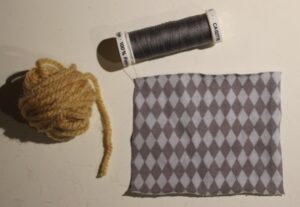
Materials and tools:
Thin jersey fabric.
Acrylic yarn
Sewing thread matching the fabric
Sewing machine equipped with a suitable needle for the fabric
Needle for hand sewing
Tailors chalk or some other way to mark the fabric that won’t risk staining the doll
Scissors
Measuring tape and/or a ruler
Iron
Comb
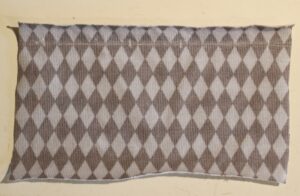
Preparing the fabric
Cut a piece of jersey 11x7cm with the larger measurement in main direction of stretch.
Using a well sharpened chalk and a light hand, mark the right side of the fabric as follows:
Draw a line 1cm away from the long edge on one side of the fabric.
Along this line, make a mark 1cm in from each end. This is the seam allowance for the back seam.
Mark off a 2cm in the middle of the line. This is where the doll’s face will be.
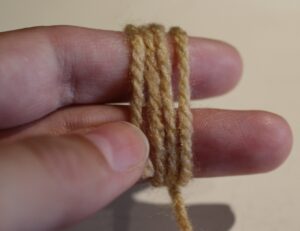
Preparing the yarn
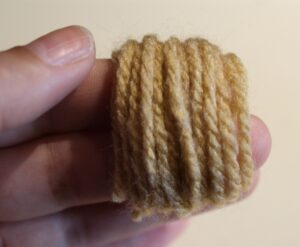
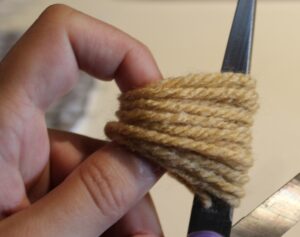
Wind the yarn around two or three fingers (depending on the desired hair length). Don’t overdo it, 20-30 laps are enough for a doll this size.
Cut through the loops on one side to create a bunch of short lengths.
Sewing
Set the machine to a sig-sag stitch about 2mm long and 3-4mm wide. Do any additional adjustments that are needed for you machine to sew stretchy materials. Refer to the manual if needed and do a test or two on scraps before moving forward.
Start sewing along the line marked on the fabric.
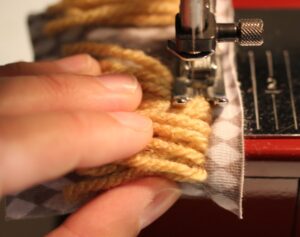
When you reach the first mark, stop with the needle down and raise the presser foot. Grab a piece of yarn and slip it under the foot, making sure it’s all the way up against the needle. Aim to center the piece on the seam line, but don’t worry about perfection, this will be trimmed later.
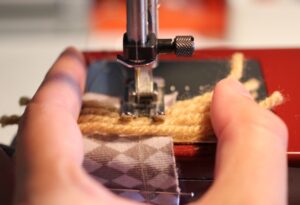
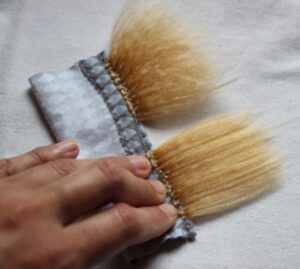
Add more pieces of yarn and start to slowly sew over it. Add more as you go. Don’t place it too densely; this kind of hair can easily get too bulky. Keep going until you reach the marked off 2cm in the middle (here marked with pins for clarity).
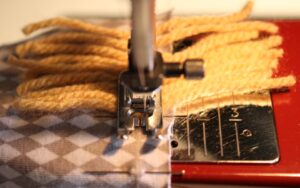
Keep sewing along the line without adding any yarn until the next mark.
Start adding yarn again until you reach the last mark. Trim the threads.
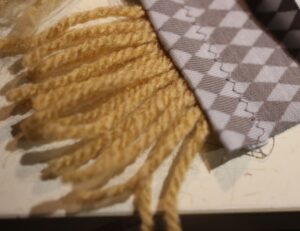
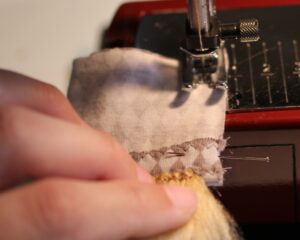
Fold the yarn over the seam, away from the edge of the fabric.
Sew a new seam over the fold. This will lock the hair in place.
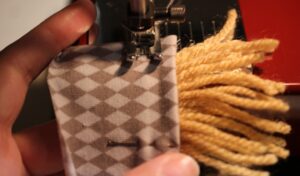
Fold in the edge with the hair about 1,5cm towards to the back of the fabric.
Stitch the fold in place like a single fold hem. This is the only seam that will be seen from the outside of the finished hat wig, so make it neat. If you are not happy with the look of a sig-sag, see what else your machine can do. Test it out on scraps before you commit and make sure the seam can stretch.
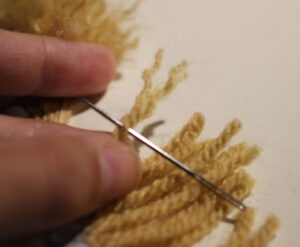
Start to unravel the yarn.
I find the easiest way to simply grab one piece of the yarn at the time, using something like a dull needle to separate the strands of the yarn.
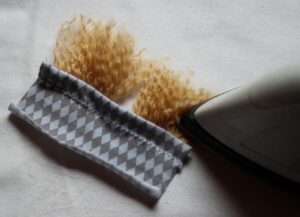
If you like the crimped look you can move on to combing. If you want to straighten the hair; set you iron to a low temperature and gently iron the hair to get some of the crimped look out. Iron both the front and the back.

Gently comb out the hair. Some loose fibers will come out, that is normal.
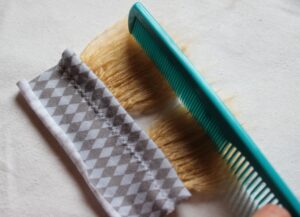
To get the hair as smooth as possible you may need to go back and forth a few times, between ironing and combing.
Fold the fabric right sides together, making sure to match up the back edges of the hat carefully. Sew up the back seam with a 1cm allowance. You may want a narrower stitch for this, something like 1-1,5mm.
Thread a needle with double thread and do a running stitch along the top edge.

Pull the thread tight to gather the edge and close the cap. Fasten the thread thoroughly.
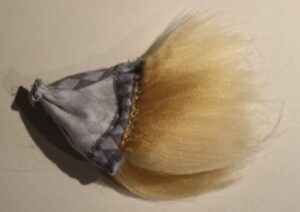
Turn the finished hat wig right side out.
Finishing
Put the hat wig on the doll. You will likely need to do some trimming and styling to make it look it’s best.
The hair will tend to be longer in the back since the yarn was cut to equal lengths while the hat is worn lower in the back. The space allowed for the dolls face may be too narrow. Trim a little at the time, you can always trim more, but it’s difficult to fix if you take off too much, so check often to see if you are getting close to where you want to be.
If the hat wants to slip off the dolls head, try wrapping an elastic band around the dolls head before you put the hat on. This provides a little bit of extra friction. All the other common tricks for keeping doll wigs on will work as well, such as wig stoppers and silicone wig caps.