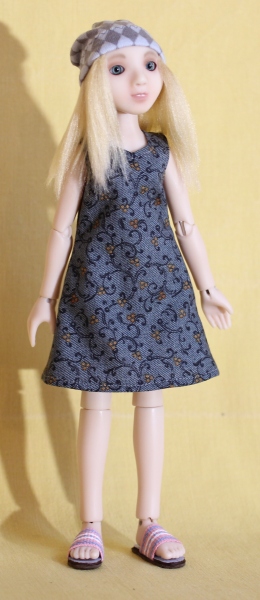
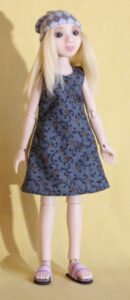
Every doll needs something the wear. This is a simple and versatile little dress that can be made up very quickly. It’s a great way to get something to put on your doll, it works for many different styles and it even has pockets.
Tutorial: A Very Basic Dress (with pockets)
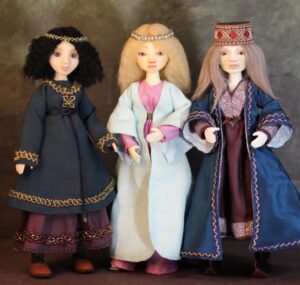
Fit: Lillim Tiny
Difficulty: Easy
Materials and tools:
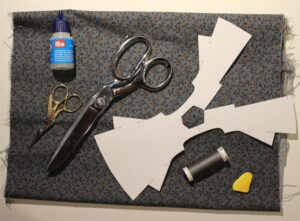
Pattern
Thin plain weave cotton (quilters cotton or similar)
Sewing thread matching the fabric
One 2-3mm button
Fray Check
Sewing machine
Pins
Needle for hand sewing
Tailors chalk or some other way to mark the fabric that won’t risk staining the doll
Craft scissors for cutting the paper pattern,
Fabric shears
Something to cut threads and clip allowances with
Measuring tape and/or a ruler
Iron
Preparations
Prewash and iron the fabric.
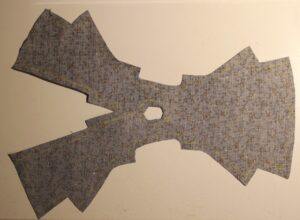
Download and print out the dress pattern. If you need to find it again later it’s the “Basic dress with pockets” on our pattern page. Set it to print to actual size and measure the ruler on the pattern to make sure it turned out right. The ruler is marked in millimeters.
Cut out the pattern, making sure to cut the printed line away. Prick the markings for the pocket openings.
Read through the tutorial.
Marking and cutting
Place the pattern on the back of the fabric. Draw around the pattern and make marks through the holes. These are seam lines and fold lines, not cutting lines.
Add a suitable seam allowance and hem allowance. In the example 5mm is used all around, but you may need to adjust this depending on your machine and your fabric.
Do a few tests on scraps to make sure that you and your machine are both in agreement on what can be done and what is needed to make things work. These hems are narrow and the pieces are small, some sewing machines may need some workarounds to make things run smoothly. Take the time to work these out beforehand to save yourself a lot of frustration later on and to optimize you chances for a successful project.
Cut the entire piece out. Fray check all the cut edges and allow to dry.
Sewing
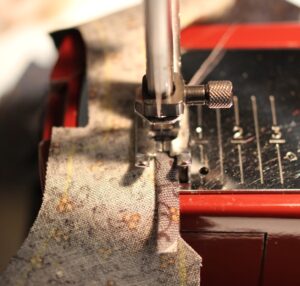
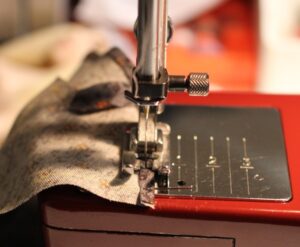
All the seams are done with a straight stitch at a length of about 2mm.
Finish the edges of the back opening like this: Fold in your seam allowance and then fold the entire edge in. You will need to clip the seam allowance where the back edge meets the back seam. The folded edge should line up with the center back seam. Sew the edge down.
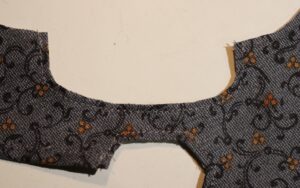
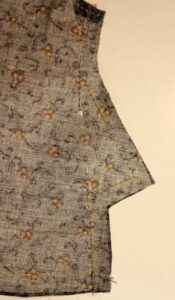
Hem the neck opening. This is a single fold hem. Clip into the corners of the hem allowance to let the hem fold in nice and flat. Don’t worry; the fray check will keep it from fraying.
Hem the arm holes. This is a single fold hem. Clip as needed to get a smooth curve.
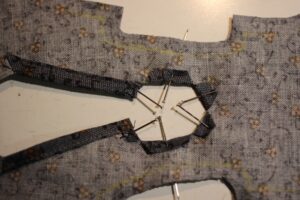
Sew the side seams as the diagram shows:
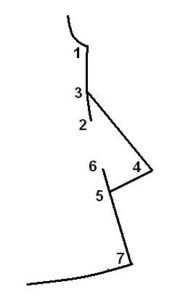
Start from the arm opening at 1. Follow the seam line, pass by three and aim for 2. Stop with the needle down right at the mark at 2, raise the foot and pivot the piece 180 degree, lower the foot again and aim straight for 3 backtracking over the seam you just made. At 3, again stop with the needle down and pivot so that you aim for 4. At 4 you do the same thing, now aiming at 5. Same thing again to 6, pivot, backtrack and aim for 7; where you finish the seam at the edge of the dress.
Clip into the seam allowance at 6. Press the pocket and upper part of the allowance towards the front and the lower part of the allowance open.

Hem the bottom edge. This is a double fold hem. Keeping it narrow will help navigating the curve of the edge without distorting it.
Fold the garment, right sides together and match up the back seams.
Sew the back seam, pay attention to where the seam meets the back opening. Press open if needed.
Closure
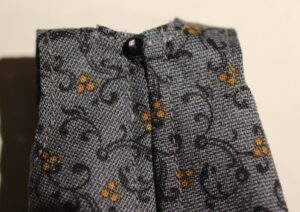
At the top of the back opening, add a button on the left side of the garment and a thread loop on the right side.
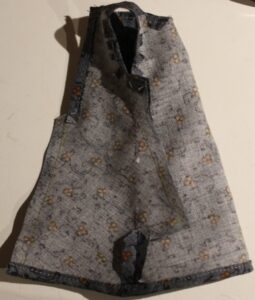
And with that the dress is finished!
A word on the use of pins when sewing.
Pins are a great tool for keeping things in place while sewing, but every pin introduces a risk of distortion as well. Therefore, use them sparingly. A good rule of thumb is: As many as you need and not a single one more.